Drafts To Construct Square Summerhouse - Learn Techniques For Building A Gazebo Easily

You'll need to excavate a nine-inch-deep area radiating out about 78 inches from the conduit. Pergola support beam plans The support beams and the shade elements have decorative ends to provide a add character to the pergola. They have their native and origin in the European architecture. The octagon's points should be in line with the outer piers. To get started with the first garden outhouse side, we secured (https://www.squaregazeboplans.com/large-gazebo-plans) the first spar by toenailing a nail down. Tighten the nuts with a socket wrench until the wood begins to compress. Below, we've now compacted our ground, laid weed control fabric and clamped the base together to check for level.
The materials list is made considering you use post anchors. Level the gravel and tamp it smooth. Pretty smooth sailing after this point and its going to last. You may want it to be installed over a pathway, but the pathway is used very little and so you won't really reap the benefits. Prop up a post or any other piece of wood temporally to the height you want for your roof. It is essential to place the joists equally spaced, if you want to distribute the weight properly. Pitch is determined by snow loads, other weather factors and the covering to be applied to the roof.
They are also a better option for those with a limited budget for they are cheaper and affordable. Cut both ends of the eaves at 60 degrees, as shown in the plans. This project is to be undertaken at the user's own risk. (see this site) These were placed in a circular ring pattern. However, in assembling the barrier for the dirt-what amounts to four band joists-an idea was born. Use a circular saw to make the cuts and clean the recess with a chisel. Inspect the gazebo's interior and exterior for insect nests and webs every month during spring and summer. A back yard is a sanctuary from the rest of the world, allowing you to relax in peace from the craziness you could generally see from the front yard.
As the vines grow, you could train them and wrap them around the pillars. Clamp the batten in place and secure it with 2 screws on each side. Locate the support positions and dig the holes, 12 to 16 inches in diameter. The chain for hanging easily slips into the hooks. A hot tub can be an ideal addition to your yard if you find that you need a little help de-stressing at the end of a long day. Plants and flowers would not only bring color and beauty but also maintain a fresh fragrance for your outdoor living space.
This will create enough room for the support beams to be fully implanted into the ground. We've broken this complex topic into three parts. Allow a week or more for delivery. Cut the components at the right size and lock them to the supports with screws, after leveling them with a spirit level. Constructing your own gazebo is a great way to customize your backyard. You'll need to touch-up at the very end, of course, but not a ton. This allows the awning to be pulled taut. Cheap, easy, and less destructive than constructing a full patio, putting a gazebo on concrete flooring creates its own separate space while allowing it to feel connected to your home.
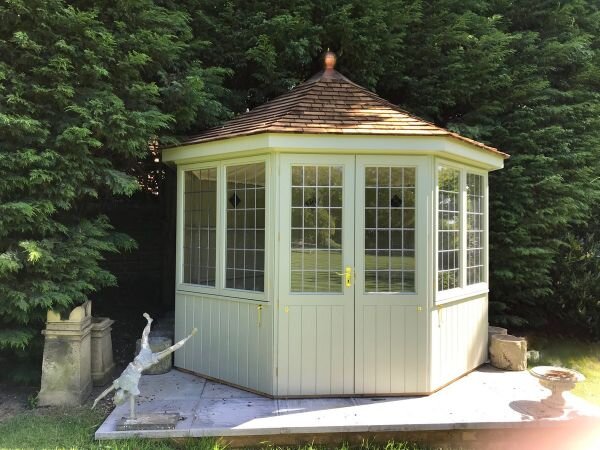
Long a staple of fence builders for their hand-hewn look, grape stakes are readily available at home and garden centers. This square summerhouse is easy to build an it is ideal for sheltering a hot tub or for a dinning area. The final step was to touch up the end grain with stain and a paint brush, especially the support tops and the bolt holes. To mitigate this, the column offsets must be measured from a reference point and all measured and cut accordingly. A pavilion would add structure and more interest to your outdoor space, whether you have a small decking area or are looking to zone a large patio space.
For effective ventilation, install soffit vents along with roof or ridge vents. Use the girders as a guide to help you mark out the post holes. You'll need to remove siding, attach the ledger board to the wall studs or sill plate with bolts. Particularly as we'll be cladding this and the frames later. An optional effect is to notch the roof boards' bottom edges to straddle the crossbeams. Marking the half-laps where the purlins fit over the girders uses the spacing determined in the previous step.