10 Feet Outdoor Pergola Assembly Schematics - Putting Together An Outbuilding in Your Garden

First mark each of the connectors and secure them to the beams. This is the same for the triangular end boards. Another option is to install flower boxes along the pavilion walls, adding extra interest and creating a feeling of a secret garden from inside the arbor space. Portable gazebos usually feature metal poles, open sides and a fabric roof, but no floor. We line up stakes alongside each ribbon and drive them in. (https://www.squaregazeboplans.com/screened-gazebo-plans) Adding a layer of plywood over the 1x6s stiffens the roof and provides enough thickness so the shingle nail tips won't poke through. It's turned columns complement their 1908 house, and the continuous roofline provides additional all-weather living space.
You need a solid foundation before anything else. Don't use a wire brush to clean the gazebo. Since we want the arbor the same size as the existing patio, we start at the edges of the patio and draw vertical lines up the side of the house. Add the right touch to your outdoor living space. In this case, the placement of your windows and roofline will let you know how high your pavilion should sit. You would need someone to help you with this task. The nuts went to the inside of the structure, where they were less visible.
Pour in the sand and pull the screed board across the timbers to even the sand over the concrete. Then glue and screw the whole thing together. (look at this website) The approximate area covered by the blocks would be mm. For example, if you want a gazebo that will provide shade, then an open roof pavilion may not work for you. You may want it to cover your patio and have plants growing all over it, but you have a water feature installed. Compact around the outer edge after each pass. After all, minor mistakes won't be visible from the ground. To correct that, we shaved off the sod with a spade, dug out a couple of inches of soil and replaced the sod.
Some enjoy the whimsical look of railings and lattices around the structure. When determining the height of the girders, keep in mind that these would be the lowest horizontal members of the structure, so be sure to leave adequate headroom below. A well a landscaped home reflects your style, warmth, and hospitality. Use galvanized hurricane ties to attach the struts to the beam. Stack the pavers neatly so you can later cut and replace them in the same slots. Work with attention, if you want to get a professional result. Lag shield anchors are larger than soft-metal shields and accept big lag screws for extra holding power for heavy objects.
The main thing is that these are conceptual aides, not plans. We use a spacer board to create an equal distance between each rafter. Make sure the supports are plumb and check if the top ridge is perfectly horizontal. Mark the edges of each column location and the hole locations of the supports with a pencil. Having a solid roof also makes the structure much more reactive to wind. Snap chalk lines between the marks at the house and the patio edge. We also ordered a simple cedar screen door, complete with the hinges and latch set. You will need to buy the necessary building materials, plan your time and also pick the most suitable site.
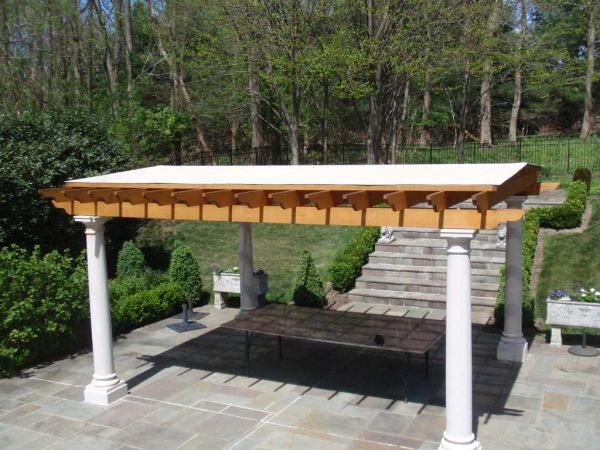
Install them up away from the ground to keep them dry. This design required 6 posts, spaced about 10 feet apart. Measure back towards the house 8 to 12 inches from the patio edge along the chalk lines and mark. Use rafter ties to secure the hip garrets to the top plates. Take one of the construction screws and using the angle grinder cut the head off, in the way that you end up with a sharp end. Remove leaves, twigs and other debris from the gazebo's roof every two months. Not only does a pergola add functionality to your outdoor living space it also adds an aesthetic appeal to your home.
After figuring the spacing for the remaining joists, and marking it on top of the headers, we installed a joist in the center. Make recesses to the beam, so you can fit it into place properly. Your handmade pavilion could become a structure for climbing plants, such as wisteria, clematis, or morning glory vine. Use a miter saw to make 45 degree cuts to both ends of the braces. You could substitute treated lumber for the framework, which will cut costs substantially, though the wood will show some imperfections.