Wooden Summerhouse Making Plans: Items To Assess While Building A Outdoor Gazebo

Come upon one in the middle of a garden or tucked into a remote corner of a yard, and you can't help but stroll toward it. Double and triple check your measurements during installation. Have rebar and anchor bolts or column bases on hand, as you must add them to the concrete while it is still wet. Attach the other end of the curtain panel to the curtain hook farthest away from the first. To crease flashing around corners, use a hammer and wood (https://www.squaregazeboplans.com/gazebo-designs) block. A vinyl or wrought-iron gazebo shouldn't need painting. Pull the hook side of the hook-and-loop tape away from the curtain panel.
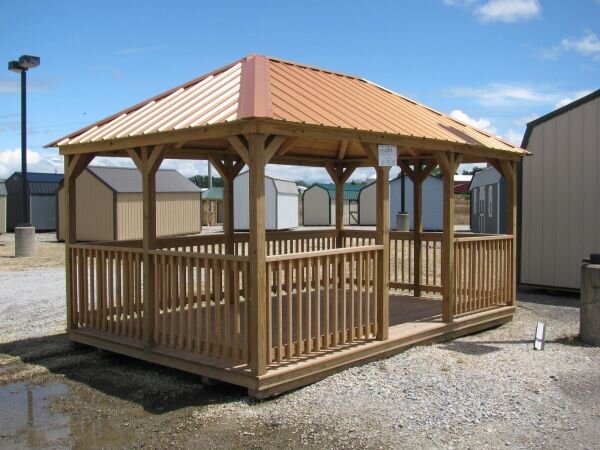
Now that your summerhouse posts are up and trimmed, it's time to fasten the three 6-by-6 crossbeams to them. If you rent a trash container, keep it until you're finished so you could throw in any extra gravel or sand. Take it -- one more, maybe one more wrap and then just lay the string out this way. The result is the total square footage of your vegetable garden. Save the removed soil to use elsewhere around your property. Nevertheless, you should choose the design of the balusters from the very beginning, making sure it matches the style of outdoor gazebo.
The first being that we used left over decomposed granite to fill in the gaps. An excellent project to kick start your summer in a perfect way, a backyard pavilion will prove both a functional and stylish addition (official source) to your outdoor area. Anything out of line would be especially noticeable where the front wall of the house sits on the deck. Continue this action around the perimeter of the gazebo roof. You may want a double gate style one with glass panels as you could see in our crushed potatoes recipe. Repeat for the remaining marks and apply two coats of stain to each support.
In addition to the wood, ensure you have cement mix and six 42 inch long pipes. The decorative detailing adds punch to the simple design, and it's not difficult to achieve. You can level a deck with a standard level or a high-tech laser level. The pieces would be labeled to ensure you install them in the correct order. These plans are for personal use only. The surface of the kit gazebo's roof is often pre-shingled, as shown here. Don't take the building lightly, though, or get overconfident. You'll need to create the stringers and install steps and toe kicks if necessary.
Set the wall panels from the pavilion kit in place and secure according to the manufacturer's instructions. Mark a 45-degree cut at the end of one of the 2x6x8ft boards, and another one 4ft away from that. Use ties to lock the common eaves to the bottom rafters. It's best for a large spirit level to do this. Pull the sand away from the perimeter of the patio with a steel trowel until you reach the base material. Secure them to the end boards with screws. Take the supports down and cut them to length. Build it, Fix it and Do it yourself.
Use the measuring tape and spray chalk to mark the outline of the space for the gazebo base. Start by measuring and marking the first post about 8 feet above the highest area of soil. They add strength and a beefy look to the finished pergola. This is great for summer nights when you want to keep the mosquitos away. A arbor structure can be as wide as you like, as long as it's built with enough beams to support the roof. Every support is fixed to the structure with screws. Then, lift your inner joists in the center of your arbor and drop in your center block.
This allowed to keep everything still to cut our pitched roof. Cables and exposed bolts add an up-to-date flair and places to hang plants. Once all the eaves are in place, permanently secure the beams with 8-inch galvanized bolts. Use a spirit level to plumb the supports. Make sure you take a look over the rest of plans to see alternatives and more projects for your garden. Take time to ensure the pavilion supports are perfectly plumb. The more space between the beams, the more light will get trough the pergola. For these reasons, they cost more than wood but may be worth it for the ease of care.
They come in a wide variety of diameters and heights and architectural styles. Learn how to build a pergola to dress up a patio or outdoor room.